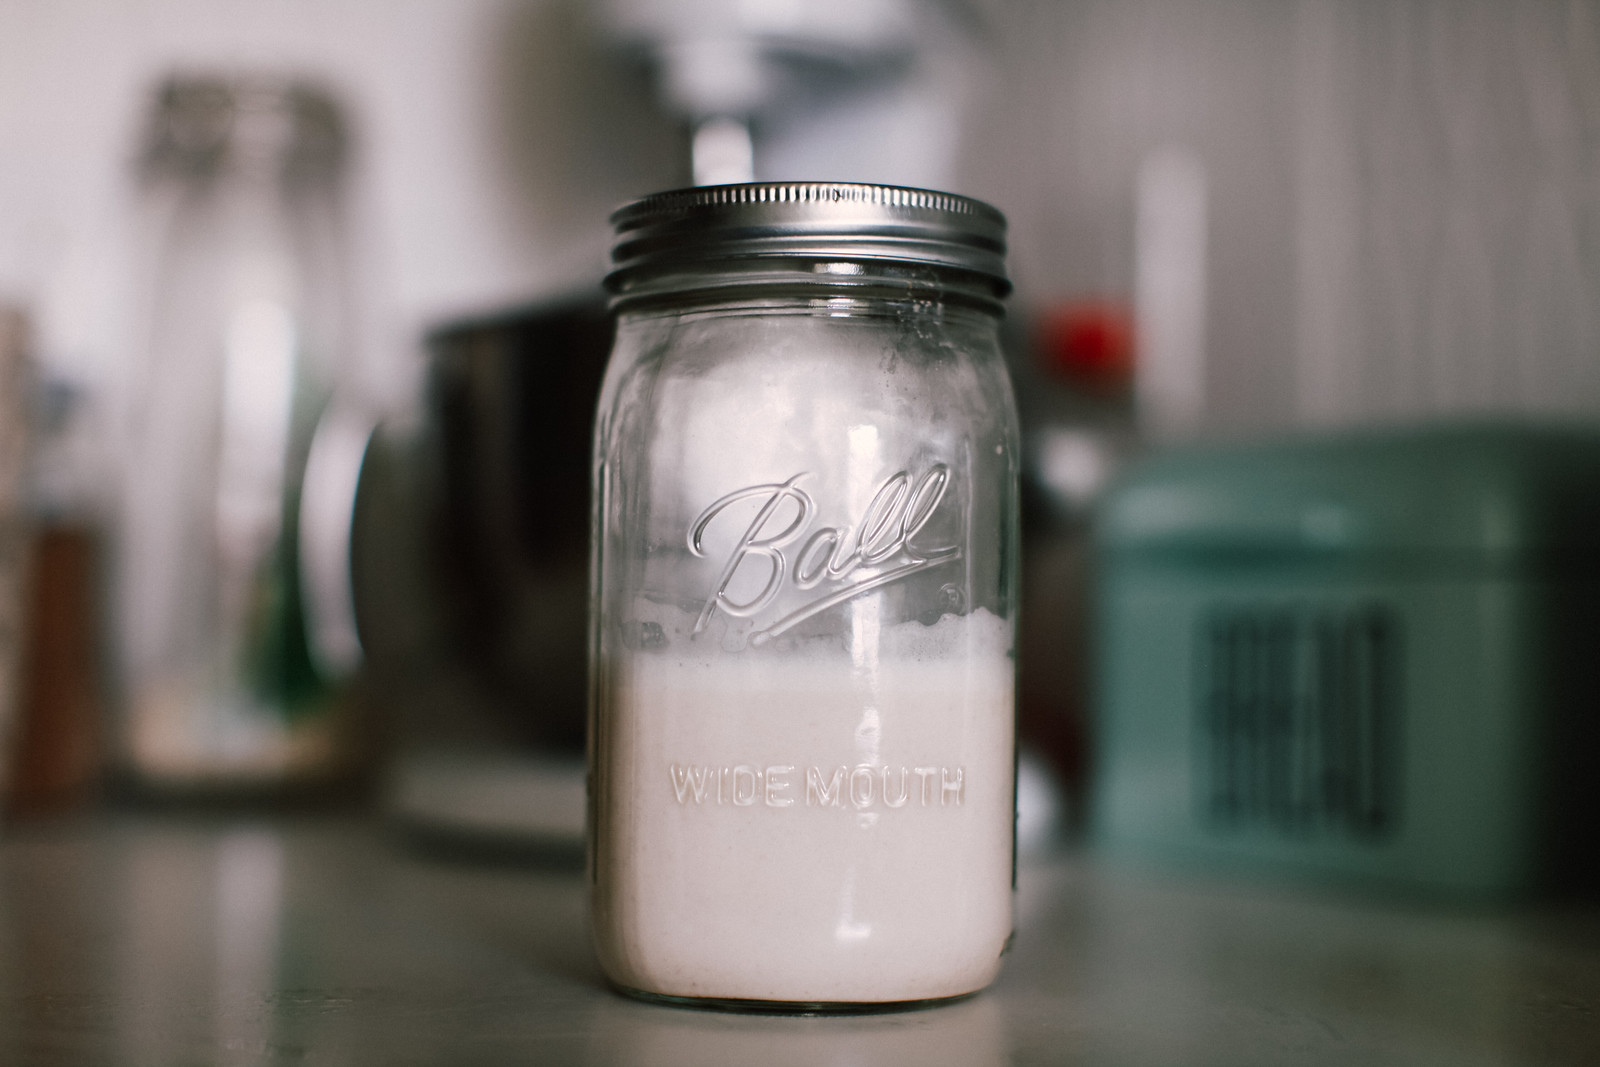
Homemade Almond Milk
A few weeks ago, I decided to make some homemade almond milk; it's something I've always wanted to try. I was pleasantly surprised to discover the process was super simple! Adam goes through so many cartons of almond milk. He makes smoothies almost every day, sometimes multiple times per day, and almond milk is usually his base for every smoothie. I'm not a huge smoothie fan myself... I'll only drink almond milk if I'm eating cereal or if I'm making dinner and a recipe calls for milk. Anyway, here are the step-by-step instructions! The original recipe can be found here:
1 cup raw almonds, preferably organic
2 cups water, plus more for soaking
Sweeteners like honey, sugar, agave syrup, or maple syrup (optional)


1. Place the almonds in a bowl and cover with about an inch of water. They will plump as they absorb water. Let stand on the counter, covered with a cloth, overnight, or refrigerate for up to 2 days. The longer the almonds soak, the creamier the almond milk.
2. Drain the almonds from their soaking water and rinse them thoroughly under cool running water. At this point, the almonds should feel a little squishy if you pinch them. (It's best to discard the soaking water because it contains phytic acid, which inhibits the body's ability to absorb nutrients.)
3. Place the almonds in the blender or food processor fitted with the blade attachment and cover with 2 cups of fresh water.
4. Pulse the blender a few times to break up the almonds, then blend continuously for 2 minutes. The almonds should be broken down into a very fine meal and the water should be white and opaque. (If using a food processor, process for 4 minutes total, pausing to scrape down the sides halfway through.)
5. Line a fine-mesh strainer with either an opened nut milk bag or cheesecloth, and place over a measuring cup. Pour the almond mixture into the strainer.
6. Gather the nut bag or cheesecloth around the almond mixture and twist close. Squeeze and press with clean hands to extract as much almond milk as possible. You should get about 2 cups.
7. Taste the almond milk, and if a sweeter drink is desired, add sweetener to taste.
Final Thoughts: I found no matter how much I blended the almonds or how many times I strained them, the milk was still a bit mealy in the end. (This might be because I only let the almonds soak overnight. I'd like to experiment again and let them soak for longer!) The flavor was pretty good though; I sweetened ours with a small amount of maple syrup. Adam used the milk I made in a smoothie and thought it was good. Next time, I'll definitely opt for a longer soak time.
Let me know if you give this a shot or have a different method you'd be willing to share with me! :) As always, thanks for reading! xo
